
Damn, I love robots and androids. This is one of my favourite themes. This artwork I love most!
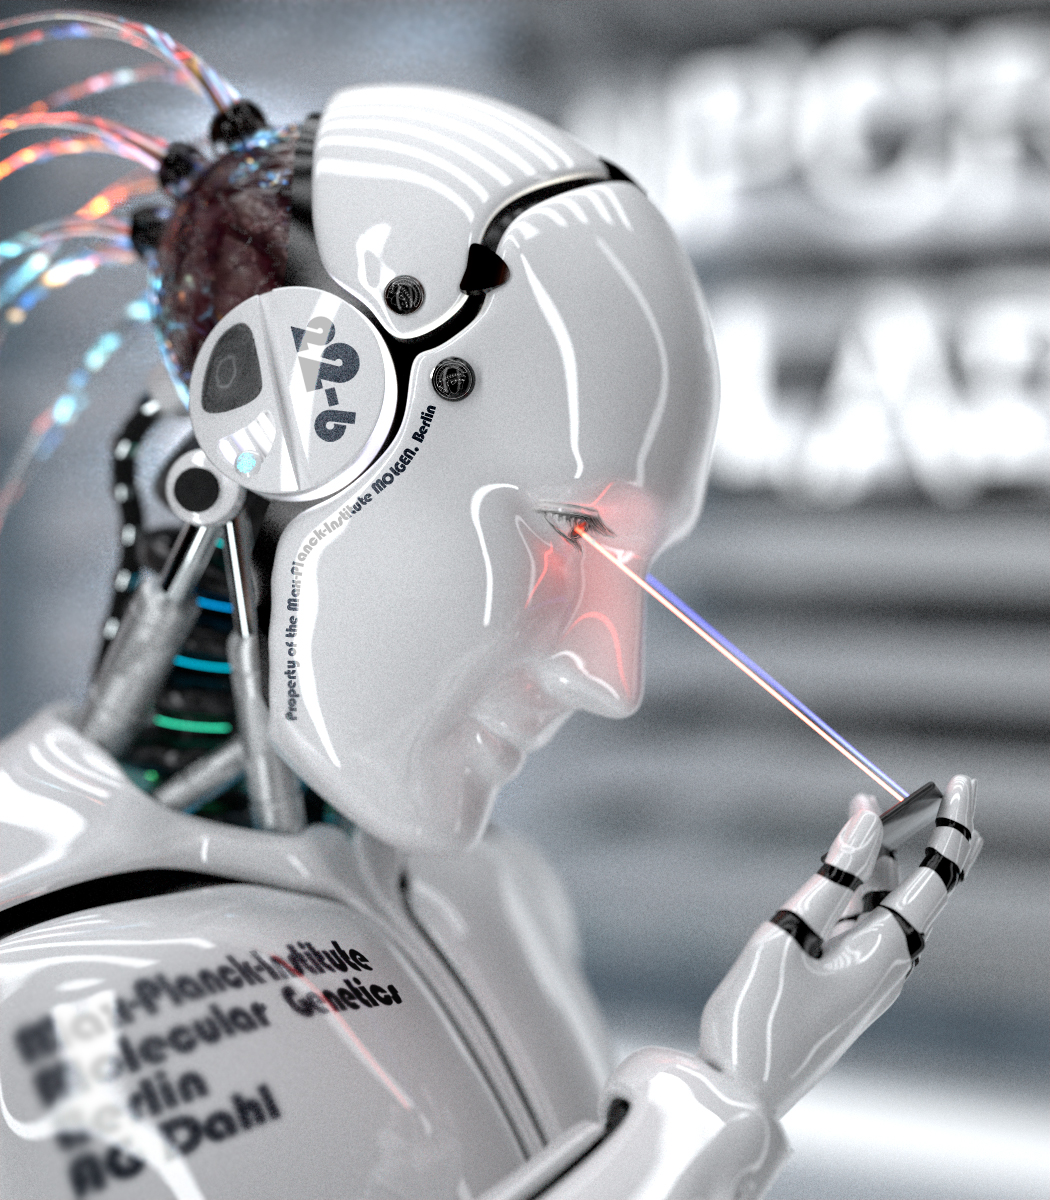
Workflow
Composition of Layers
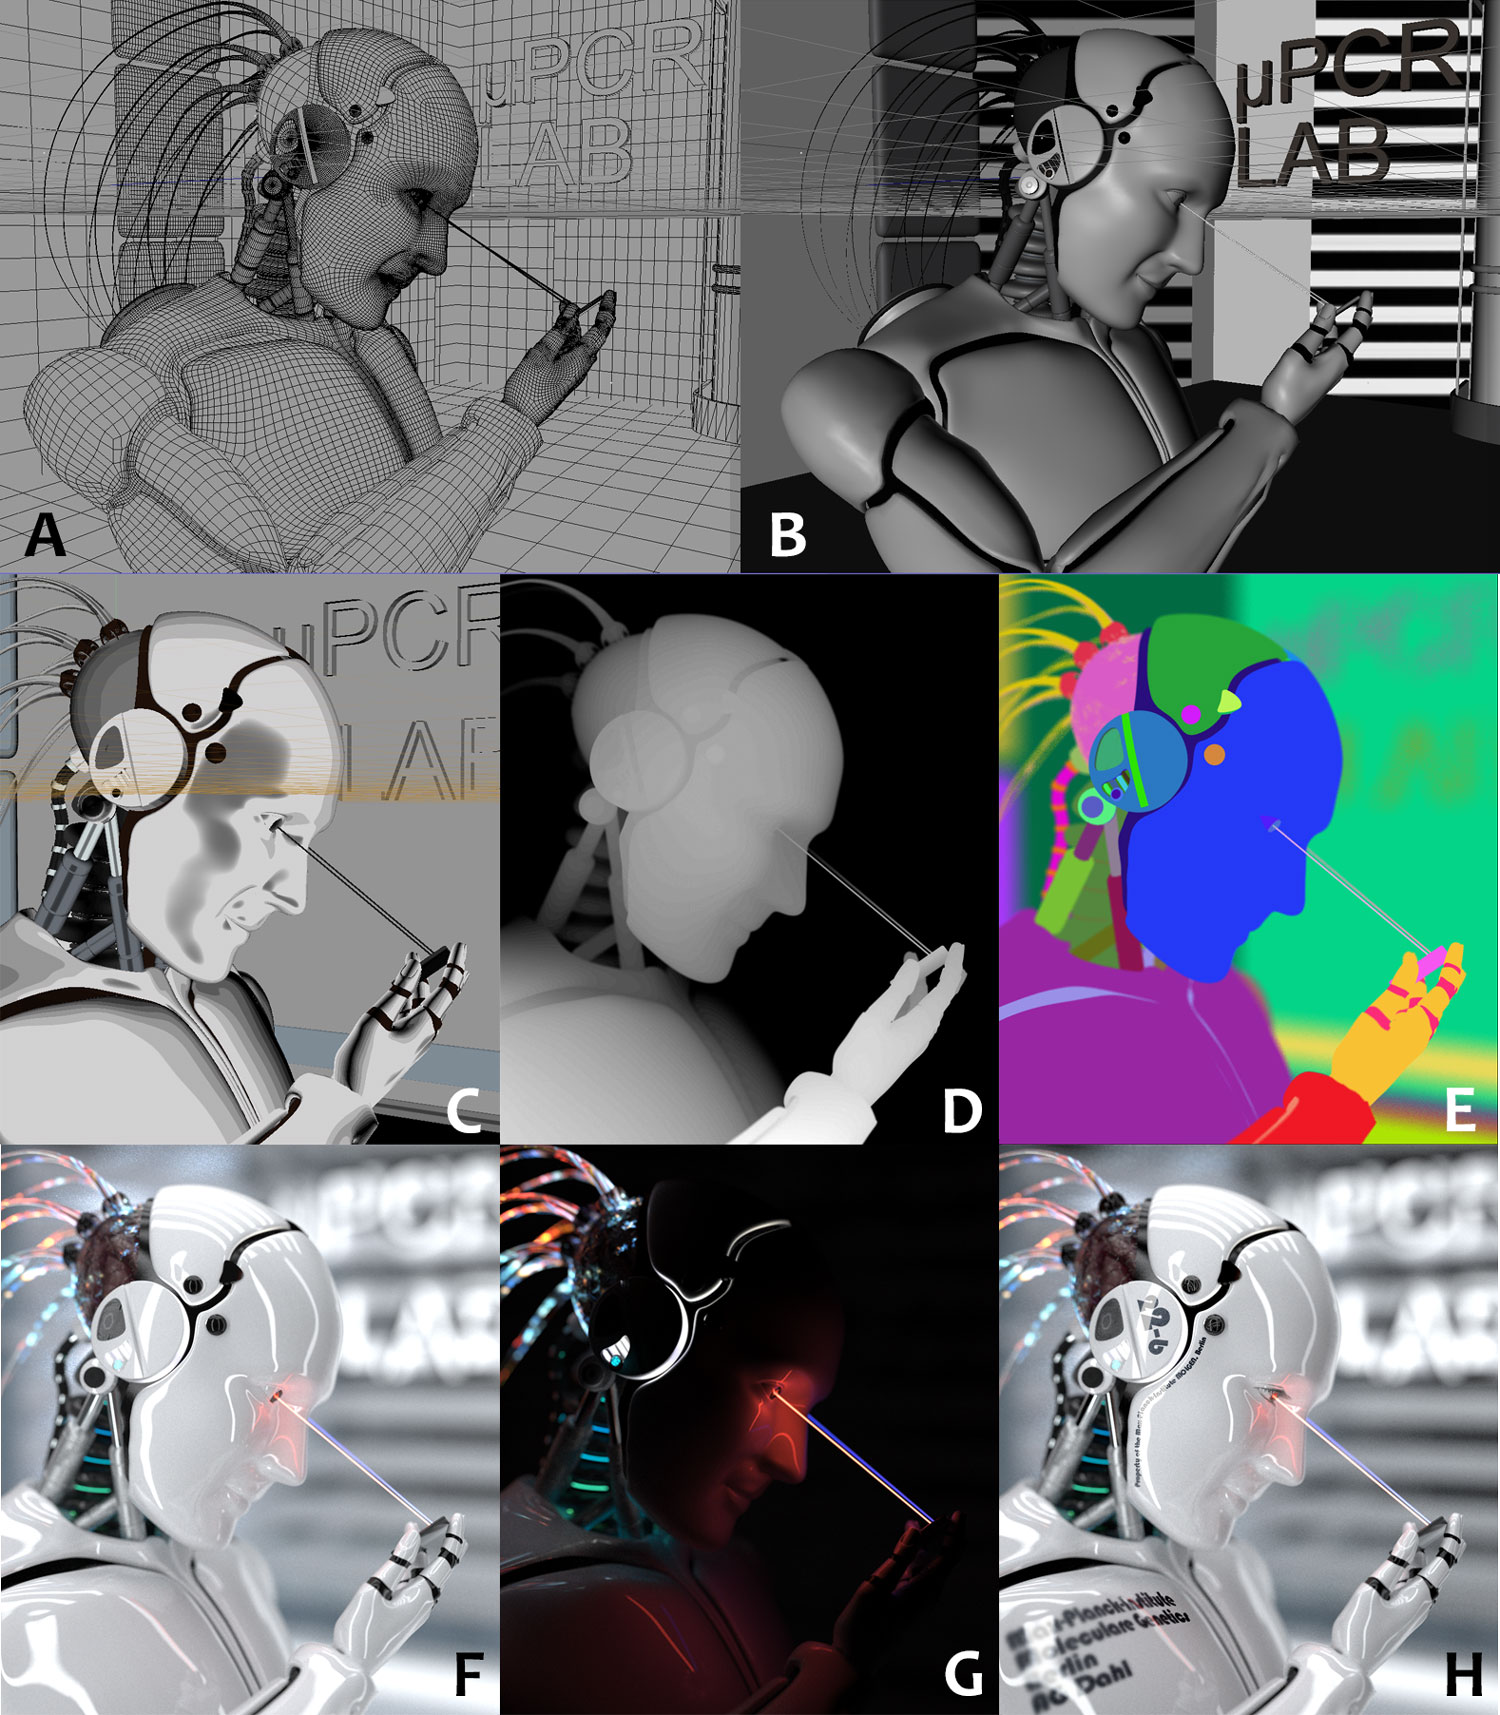
After modeling the robot and the background in Cinema4D [A – Wireframe Mode, B – Shaded Mode] I exported the project to Maxwell Render (a great external rendering engine – the inbuilt render engine of Cinema4D is not really famous for mind-blowing results).
By this rendering program I applied designed/downloaded materials and light sources to the scene [C – Toon Shaded – unfortunately it doesn’t show a good preview of the materials] and defined the camera position and its focus (depth of field).
After starting the rendering it saved a frame with the depth information [D – called “z-Buffer”: the bigger the distance of an object to the camera the darker it will appear] to play around with the camera focus even after rendering.
Also a frame for the objects was outputted [E – object-ID]. It helps masking the different objects in the picture to change the attributes of the materials (color, reflectivity,… ) afterwards.
While and after rendering it is possible to change to the intensities of the used light sources [F – final picture; G – another light setting of the same frame].
Anaglyph version
Put on your red-cyan glasses and click on the image
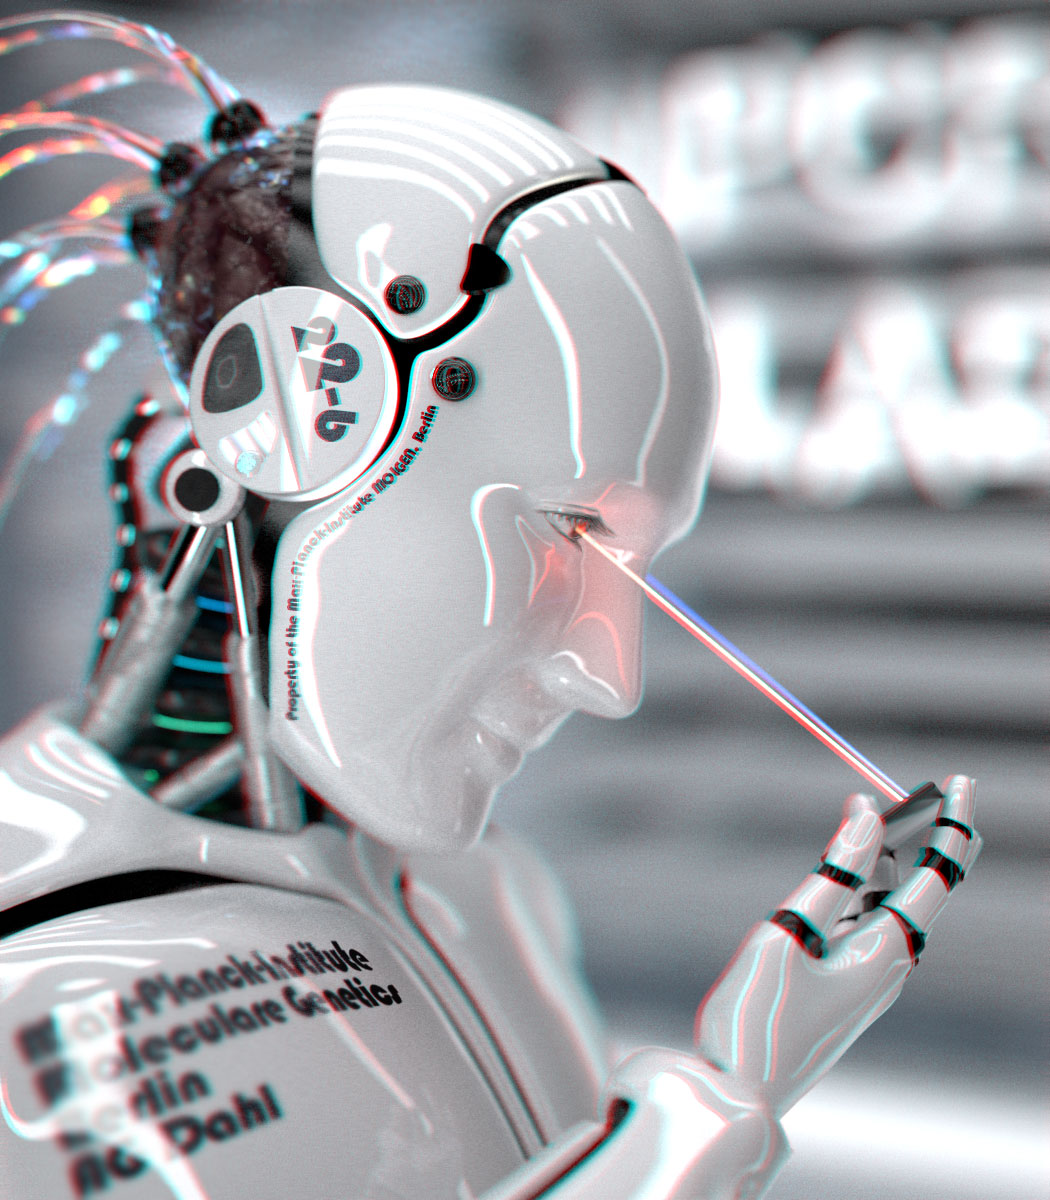
Due to the increasing amount of anaglyph 3D stuff in the internet I bought red-cyan glasses to be able to participate in this trend.
Today I realized that I actually did some 3D stuff – than I wondered if I could use my work to do my own anaglyph 3D – I put on my 3D-glasses and tried it…
Unfortunately, I could not reach the quality of an anaglyph rendered image or of a photo from a 3D camera because this was generated from a flat image. Therefore, the effect is not so strong (more 3D leads to much more ghosting).
Take your red-cyan glasses (or get one) and have a look yourself.

